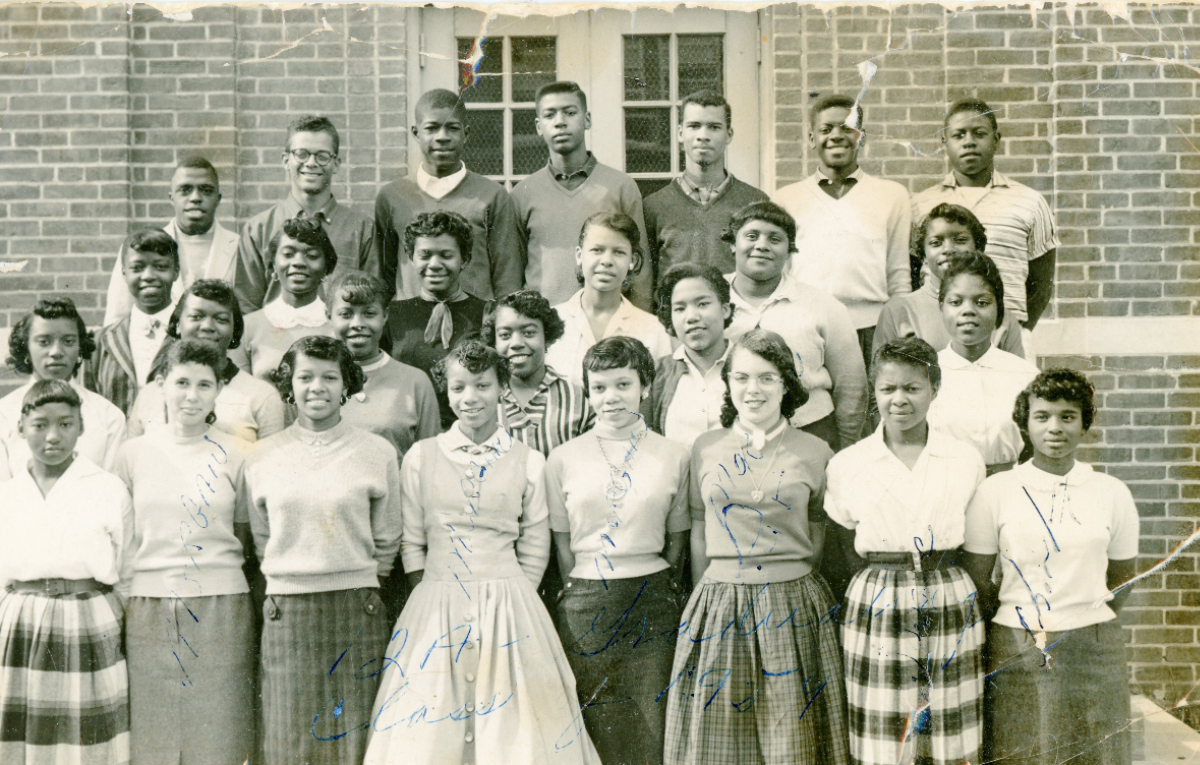
But what if those old photos are so damaged you wouldn’t want to display them? What if they are so faded, you’re not sure who it is? What if it turned yellow, or pink? Now you need restoration. First step, a high quality scan of the picture. You want a scanner designed for photos, able to produce at least 600 dpi (dots per inch), higher if you hope to enlarge it. Once scanned, you are ready for digital restoration. Many software packages exist to help you restore old photos, such as GIMP, Affinity and Photoshop. Even Apple Photos has tools you can use. Since you will be working with a copy, you won’t harm the original.
Restoring old photos digitally is part science, part art. The software packages mentioned previously will handle the science, using algorithms to “guess” at the missing pixels. The largest, and frankly, the gold-standard program is Adobe Photoshop. Photoshop has been around since 1988, but interestingly, was not available for Windows until 1993. Originally, it only worked in grey-scale and was marketed with photo scanning equipment. Once Adobe acquired the program, they expanded it to work with color and added functionality intended for correcting over or underexposed photos, removing background distractions, and color correcting.These days, it is an entire dream machine for manipulating a digital photo.
And this is where the art comes in. When you are correcting a yellowed or faded picture, finding the correct tonal quality can be very tricky. What looks “vivid” to one person, is “garish” to another. What to do when a picture has torn and your subject is missing part of their face? Most people’s faces or eyes are not actually symmetrical, and look “off” if presented that way. It’s important to consider the angle the photograph was taken at, as well as the angle of the light. Fading is easily repaired, but once fixed, a myriad of other flaws may become obvious. And please tell me why people wrote across the front of their pictures! However, using Photoshop, a professional restorer will bring color back to life, reconstruct missing pieces, remove writing, and restore fading. It is even possible to reconstruct a photo from a handful of pieces and fill in the blanks.
As much as I love working with Photoshop, many amateur restorers will find it intimidating. What if your pictures only have a few creases or water spots? If you want to tackle the job yourself, Photoshop Elements is a smaller package of key tools and excellent tutorials. While you may find it takes some trial and error to achieve the desired result, in the end you should be able to reprint those pictures in all their original glory. Be sure to make backup copies of the original scan so it’s easier to start over if you don’t like your results. And finally, a high quality print, not just run off an office printer, is a must. If you get a restoration you are happy with, save it as a high resolution JPEG. Any place that prints digital photos such as Walgreens or Costco can print it for you off your flash drive.
And if all else fails, call in the professionals! We’re here to help. There are additional high quality photo restorers who can also do the work for you. Check out www.thephotomanagers.com for their preferred vendors as a starting point. Good luck!


Follow Us